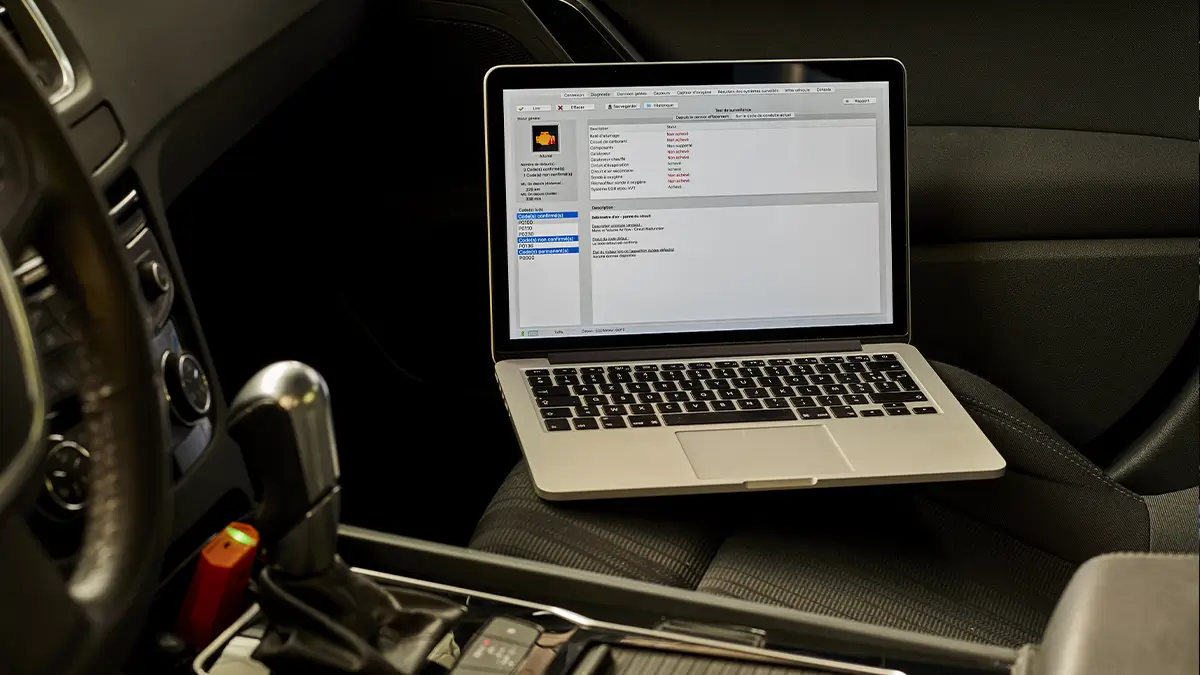
When you run a diagnostic, the scanner and software work together. But if you want to use the software on your laptop, you need to know how to use it.
We’ve created two tutorials (mobile and PC) that show you exactly how to use our klavkarr tools with EOBD Facile for your first use. The steps are detailed below.

Are you looking for a car scanner ?
The EOBD Facile software
With our diagnostic scanner collecting data from your ECUs, we needed software to read this data. EOBD Facile gives you access to your vehicle's ECU data in both OBD and manufacturer-specific modes.
You can analyse engine and transmission systems, and even clear dashboard warning lights.
Downloading the software
On a PC, download the software from our official website: ► EOBD Facile download link
Installing the software on your computer
Once on the download page, install EOBD Facile by running the downloaded file.
Follow the installation steps and don’t forget to install the drivers as explained during setup.
Finding the OBD port in your vehicle
You’ll then need to locate the OBD port in your vehicle. If you don’t know where it is, use our free community-based app with user-submitted photos to help find it.
Just scan the QR code from the leaflet or search for “Where is my OBD2 port? Find it!” in your app store. App links:
The database is also available within the PC software or directly online: ► OBD II port locations
The leaflet you received also links to this page. Watch our video for more details:
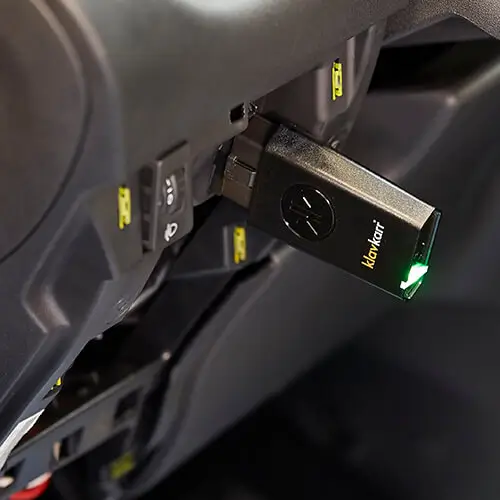
Once you’ve found your OBD port, plug in your klavkarr. It will blink to indicate it’s ready to connect.
Launch EOBD Facile and establish the connection
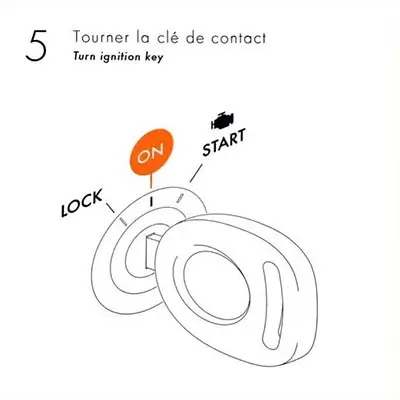
Make sure to switch the ignition to “On” — otherwise the software won’t be able to connect. No need to start the engine, just turn the key to the accessory position as shown in the leaflet diagram.
Bluetooth connection
On PC, you’ll need to confirm pairing during the first Bluetooth connection.
Click the “Add a device” bubble at the bottom right of your screen and follow the steps. Drivers will install — this may take a moment.
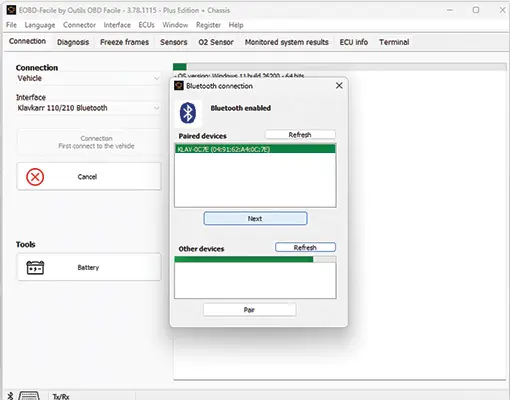
Once installation is complete, select your klavkarr device from the list, click “Next,” then choose your car’s brand and ECU to diagnose.
USB connection
For wired connections, plug the USB cable into your PC. Drivers will install automatically — this is usually quick and doesn’t need any manual action.
klavkarr automatically activates EOBD Facile
Once connected, EOBD Facile activates automatically to the correct level — for example, “Plus” for klavkarr 210.
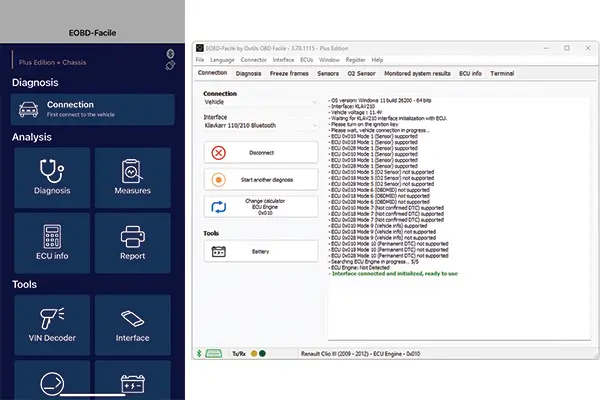
The green LED on the unit will turn solid, confirming connection.
This system is great when switching devices — no extra cost, as your klavkarr is the licence key!
Run your very first car diagnostic!
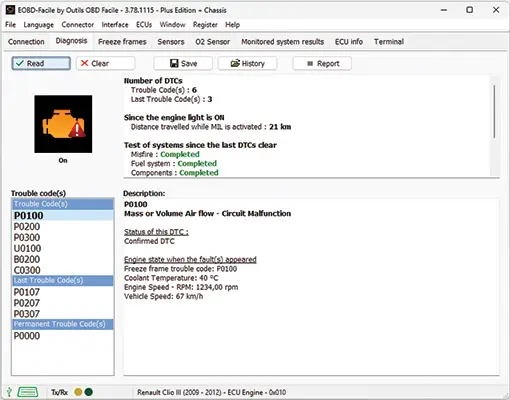
You’re now ready to run your first car diagnostic. Go to the “Diagnostic” menu and read any fault codes found.
Which klavkarr model should you choose?
That depends on your needs. The Expert 200 and 210 models are aimed at professionals — they offer advanced features like printable custom reports, data recording, sensor consistency checks, and VIN decoding.
If you’re a private car owner, the Classic 100 and 110 models are perfect for reading and clearing fault codes (with over 15,000 supported).
The 110 and 210 models add Bluetooth, so you can go wireless — especially useful for phones and tablets that lack USB ports.
There’s no one-size-fits-all — choose the klavkarr that fits your needs best.
Are you looking for a car scanner ?
In conclusion
You’ve now installed and configured EOBD Facile on your computer! You’re ready to run diagnostics using your klavkarr, the EOBD Facile software, and your laptop.